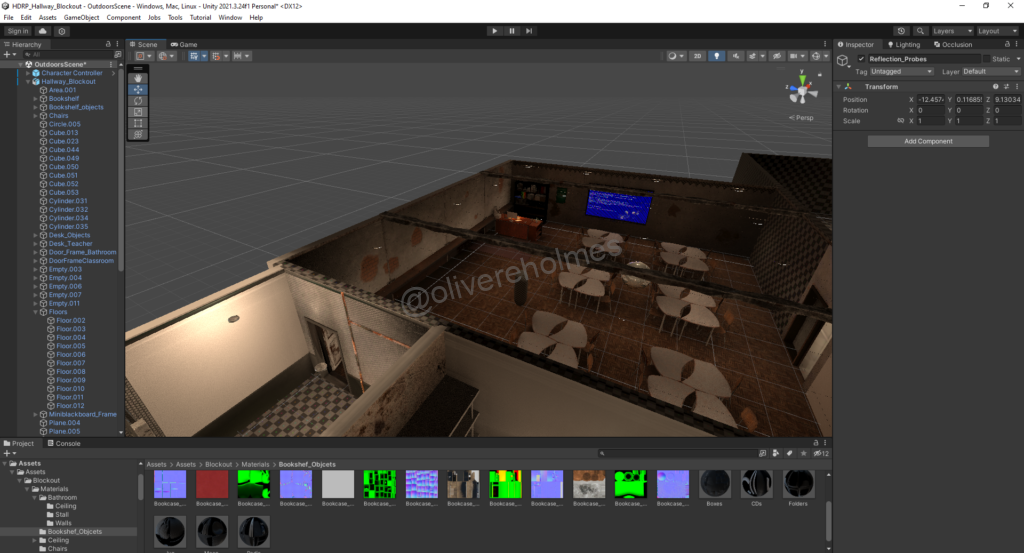
The focus of this dev log will be on the creation of the storeroom walls, floor, and ceiling, as well as the creation of the screen texture.
The first step in creating the textures for the storerooms walls was creating the base texture that could be used across each wall. To do this I downloaded a texture from the substance repository, this was then applied to each wall and offset depending on the texture next to it, this was done to create a near seamless effect across multiple textures and assets. Additionally this room also required a door, this door was simpler than the door created for the bathroom and only required the addition of the base wood texture with a mask added to show where the wood could be seen through the paint.

The two additional walls that were part of the same asset that was the bathroom walls were textured in the file that contained the bathroom walls.
For these walls I decided to add some graffiti, on the first wall there was a link that was encoded. This was part of my idea for the future game where players would have to decode a message to progress through a puzzle using the same sort of code shown in this example. As it will utilize the same method of encoding for the final puzzle I will not directly mention the method used in this dev log.
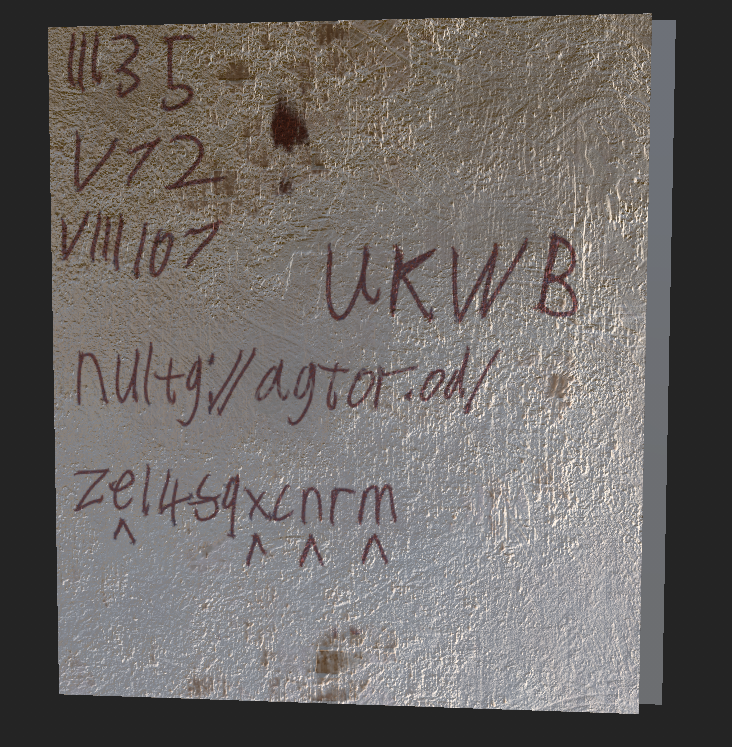
The other wall that was part of the bathroom wall asset contained no code in its graffiti and was just included as a texture meant to make the wall more interesting. This was also done as a practice of my ability to create graffiti on a wall for future projects.
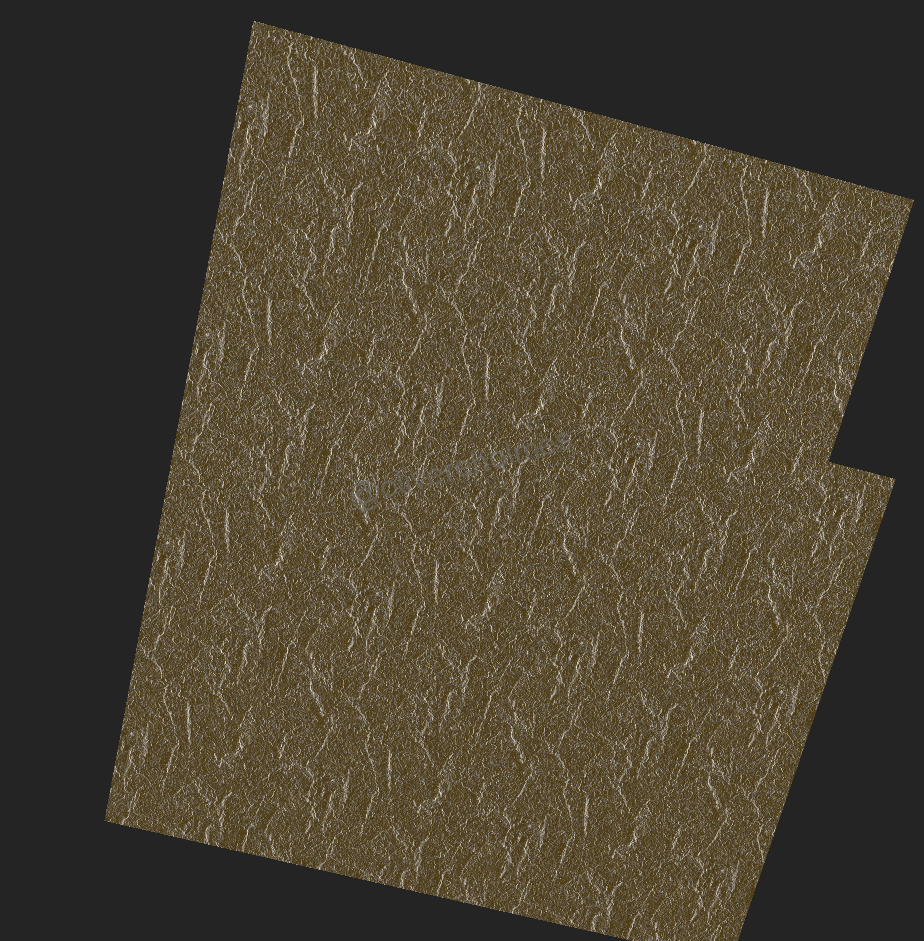
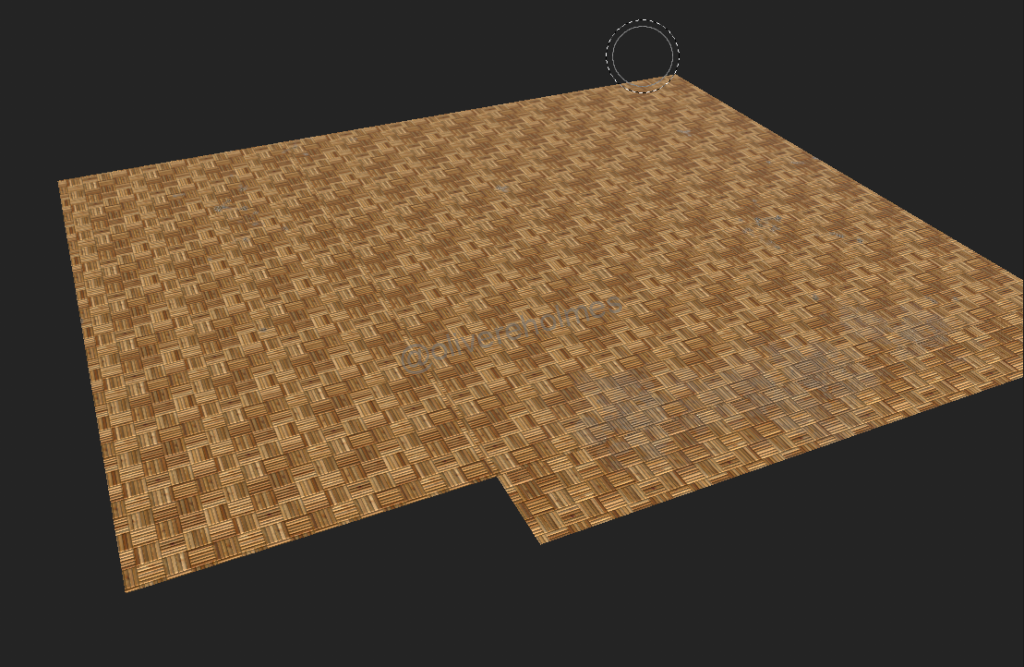
The floors and ceiling of the store room were created in a similar manner to the floors and ceiling of other rooms with a texture being applied that best fit, and grunge maps being used when necessary.
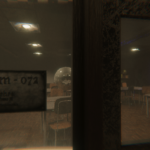
The next job was to create a texture for the screens in the room, mainly the smartboard, however the same texture could be used for the computer screen on the teachers desk.
This was done utilising blenders procedural texture nodes. This was as I could create a highly detailed screen shader that could then be exported into unity.
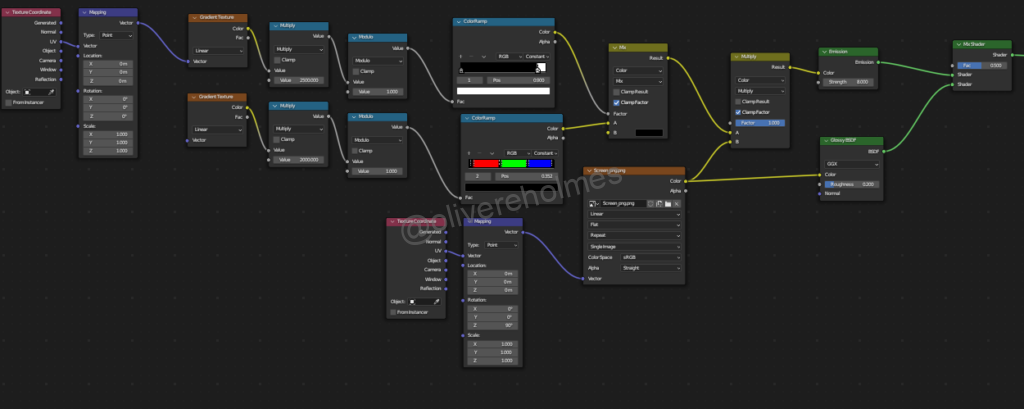
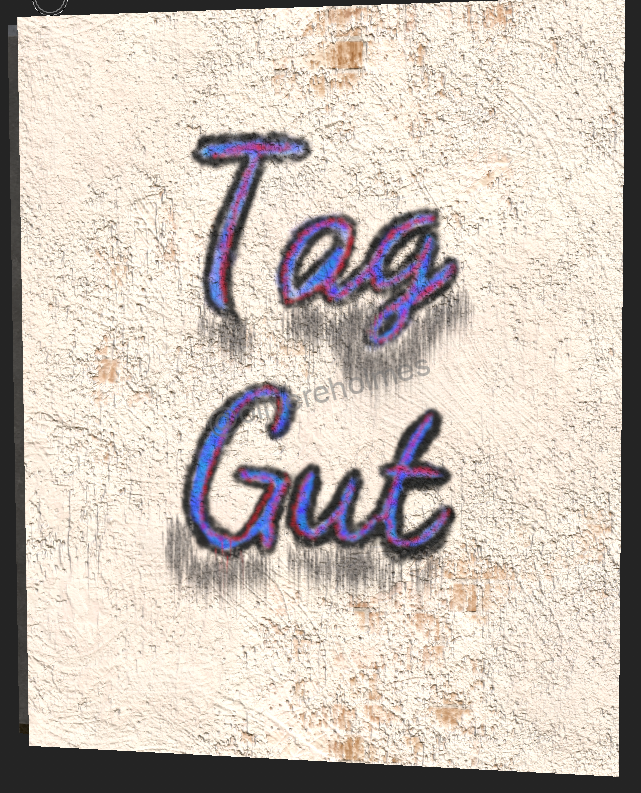
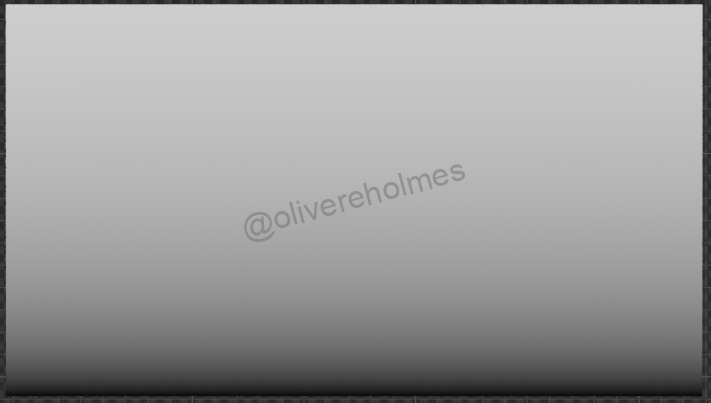
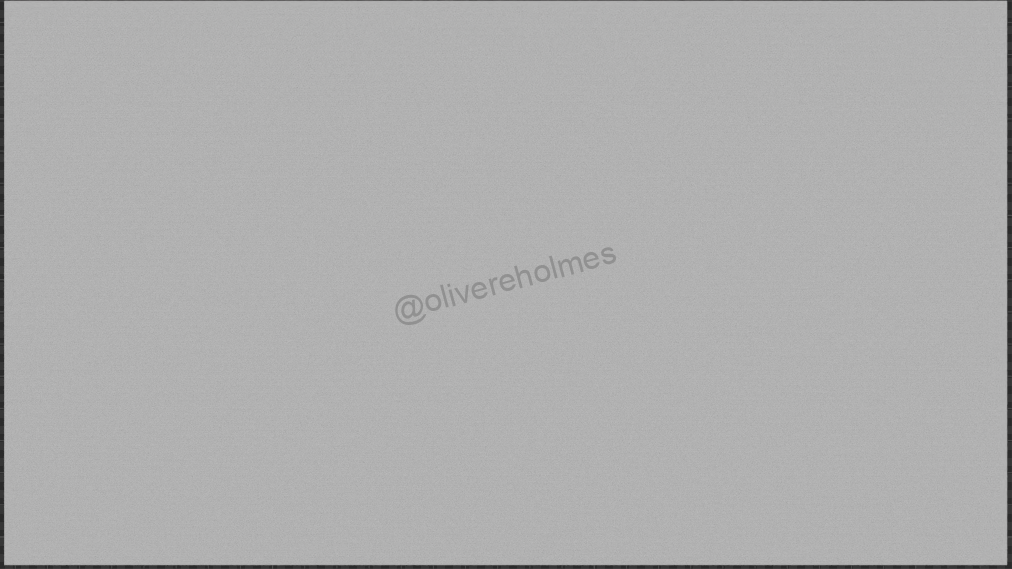
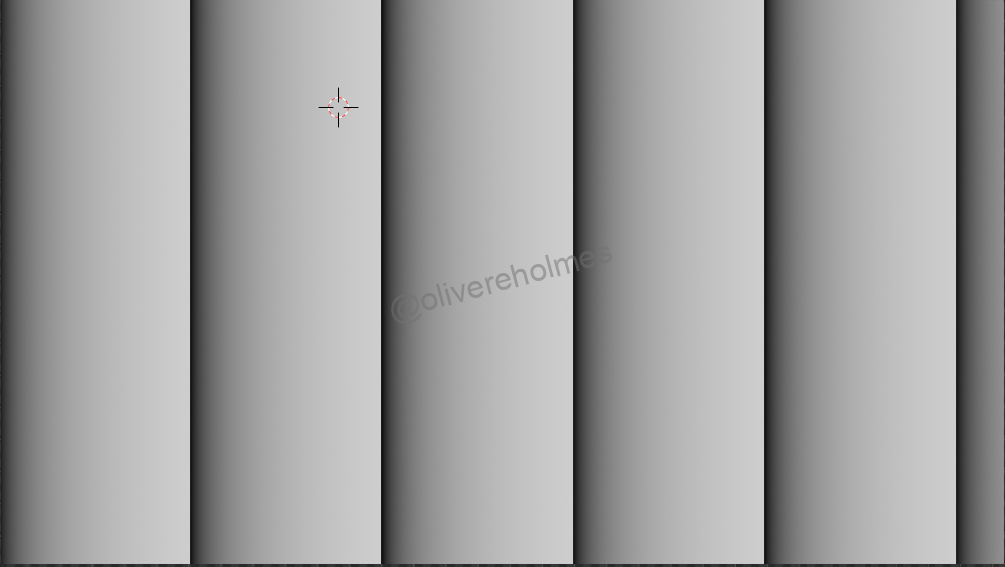
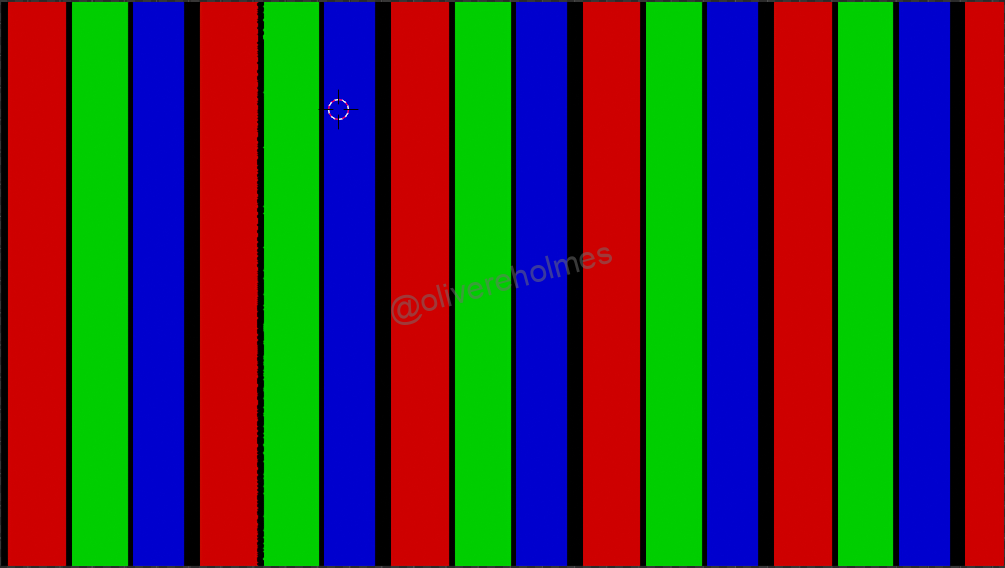
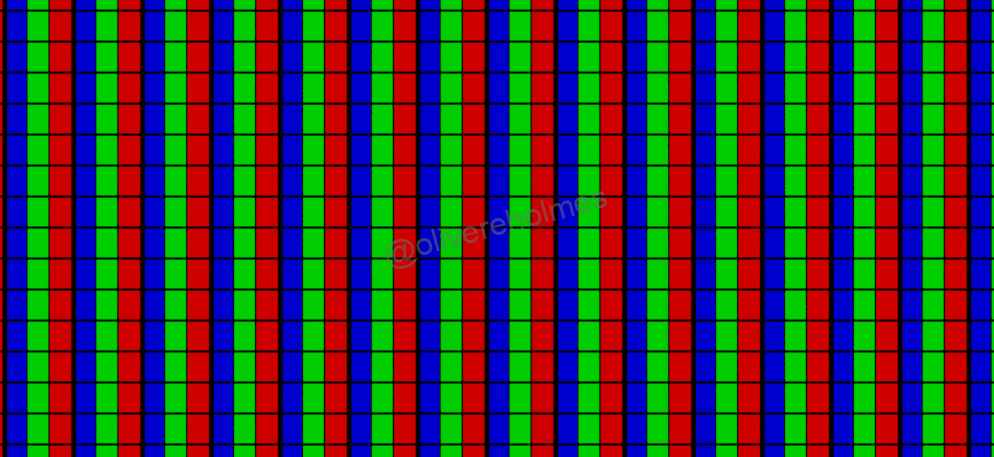
The first step was to create a UV map of the object that was then used to apply a gradient to the screen. The next step is to multiply this gradients value by 2500, and put it through a modulo math function. When viewed from afar this looks simply like a grey texture, however when zoomed in it can be seen that it creates layers of the gradient pattern horizontally across the screen. The next step was to repeat this process however creating the pattern vertically. This time utilising a colour ramp on the vertical pattern we can create a separate cells of red green and blue cells. This can then be combined with the horizontal pattern using a mix colour node, this creates individual cells that emulate a LED screen. When combined with a mix colour node set to multiply mixing an image texture and the pattern, it tells cells to turn off or dim colours based on the image, creating a pattern that is near identical to a LED screen. This can be additionally combined with a emission and glossy node to create an emissive effect and a glossy effect. This texture has an advantage over a simple image texture as when viewed from a distance it can emulate the effect that screens make when viewed through a camera.
This step by step process can be seen in the slideshow bellow.


Additionally a video demonstration of the texture is shown bellow.
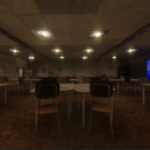
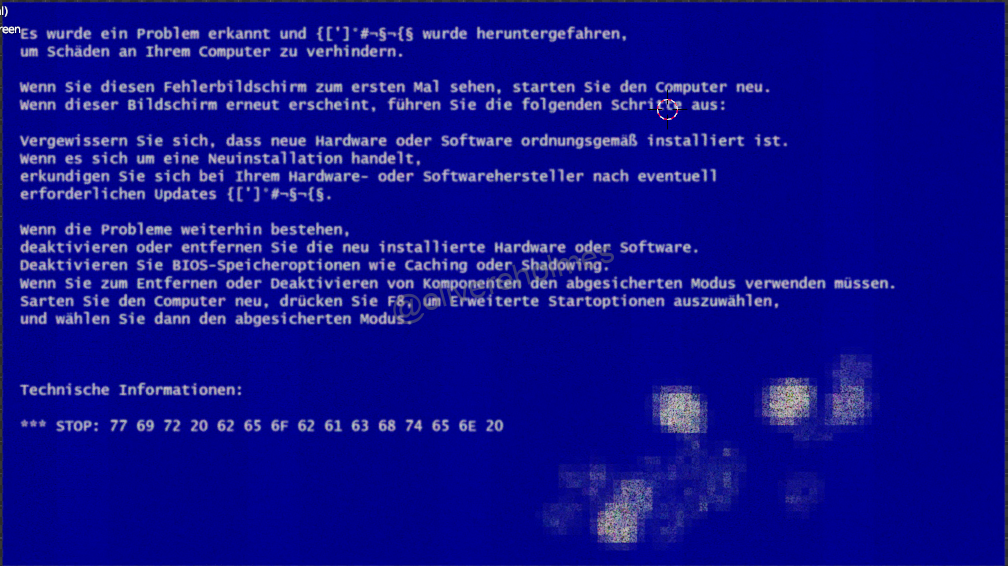
This was then imported into the unity editor, where unfortunately the effect didn’t completely transfer over, however it still offered an eerie effect that was still desirable.