The focus for this dev log is the creation of the walls textures for the classroom. The base assets of the classroom walls require almost no edits from the block out, the only work needed was the UV unwrapping as the original UVs were not done for utilising multiple textures. Some walls had to have two or three textures as they were either in a door way, where there was the interior of the wall exposed, or they had another room on the other side of the wall the required another texture.
The first attempt at creating a texture for the classroom walls was done utilising a high poly version of the walls with a brick pattern applied.
This was then baked onto the low poly meshes in substance painter, this idea was abandoned however after troubles editing the normal maps that had been baked, as the idea for the walls called for bricks being exposed in certain areas not over the whole wall.
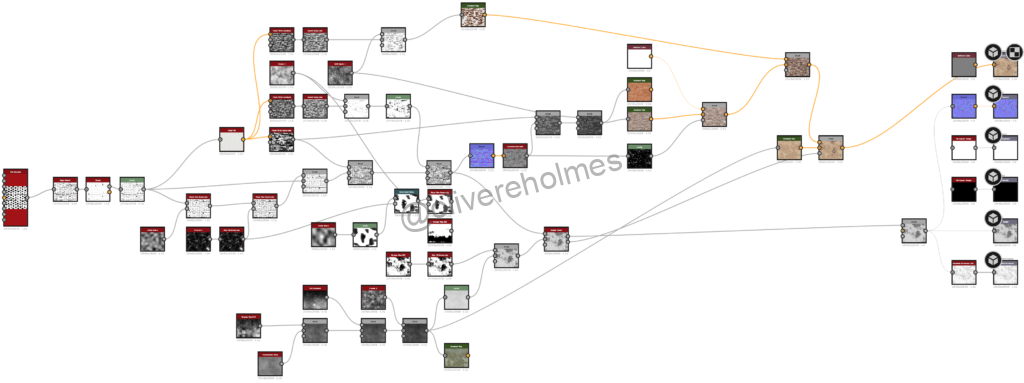
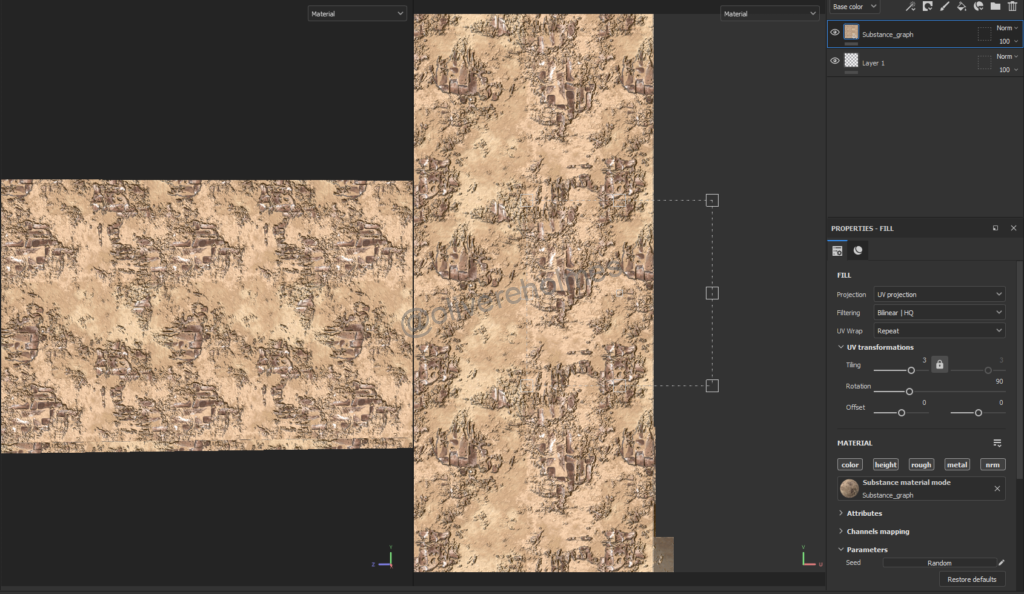
The next idea was more fully formed and required the use of substance designer. The first step was creating the material in substance designer. The first step of this was creating the bricks that would be shown through the old paint or wall paper, this was done with the use of substance designers inbuilt tile sampler. This was edited and put through an edge detect, creating a black and white mask of where the edges of individual bricks are. This was then put through a bevel node and the output was adjusted in a levels mapping node.
The next step required the graph to split into 3 with one arm being put through a flood fill, to prepare it for being put through a flood fill grayscale that allowed for a variation from 1 to 0 being applied to the bricks. This meant that instead of all the bricks being the same height they could be any height between 1 and 0. Another split fed into a slope blur grayscale, being mixed on the min mode with a Perlin noise, this applied some wear to some of the bricks, with edges being worn down and having dents and groves in them. This was then sent through another slope blur grayscale, this time on the blur setting, with the second input being a blurred crystal texture. This added even more wear to the edge of the bricks and occasionally a small hairline crack was added. This was then combined with the original input, from where it split into three, using a blend node set to min (darken). This meant that the wear on the bricks, instead of having a min value of 0, it would be set to a value of between 0.5 and 0.25, this meant that the bricks still held their brick shape but had a varied height while still allowing for consistent mortar lines. This was finally combined with the first line with a blend node set to multiply, adding in the varying heights of the bricks.
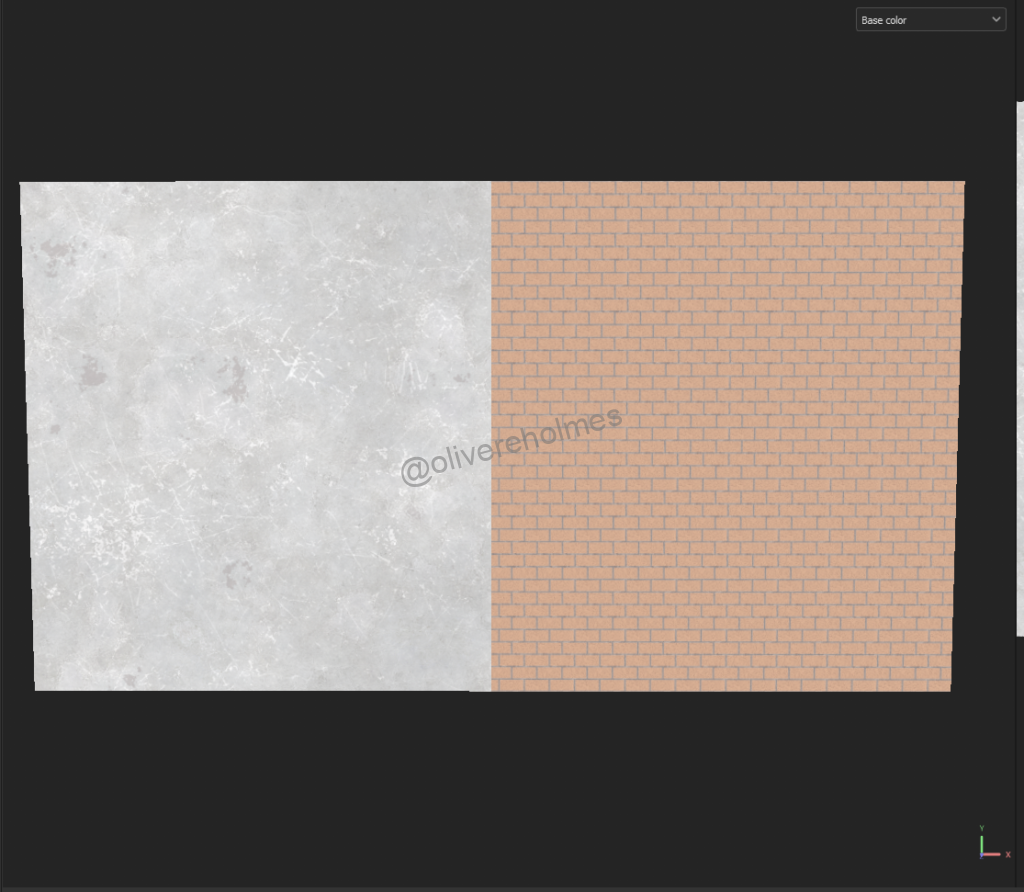
The preliminary colour of the wall was created using a blend of a grunge and fractal sum base map, this was then combined with a dirt gradient and a clouds texture to create a black and white mask of the wall texture. This was then sent through a gradient texture that based on the value of the pixel on the map from 1 to 0 applied a determined colour to the map.

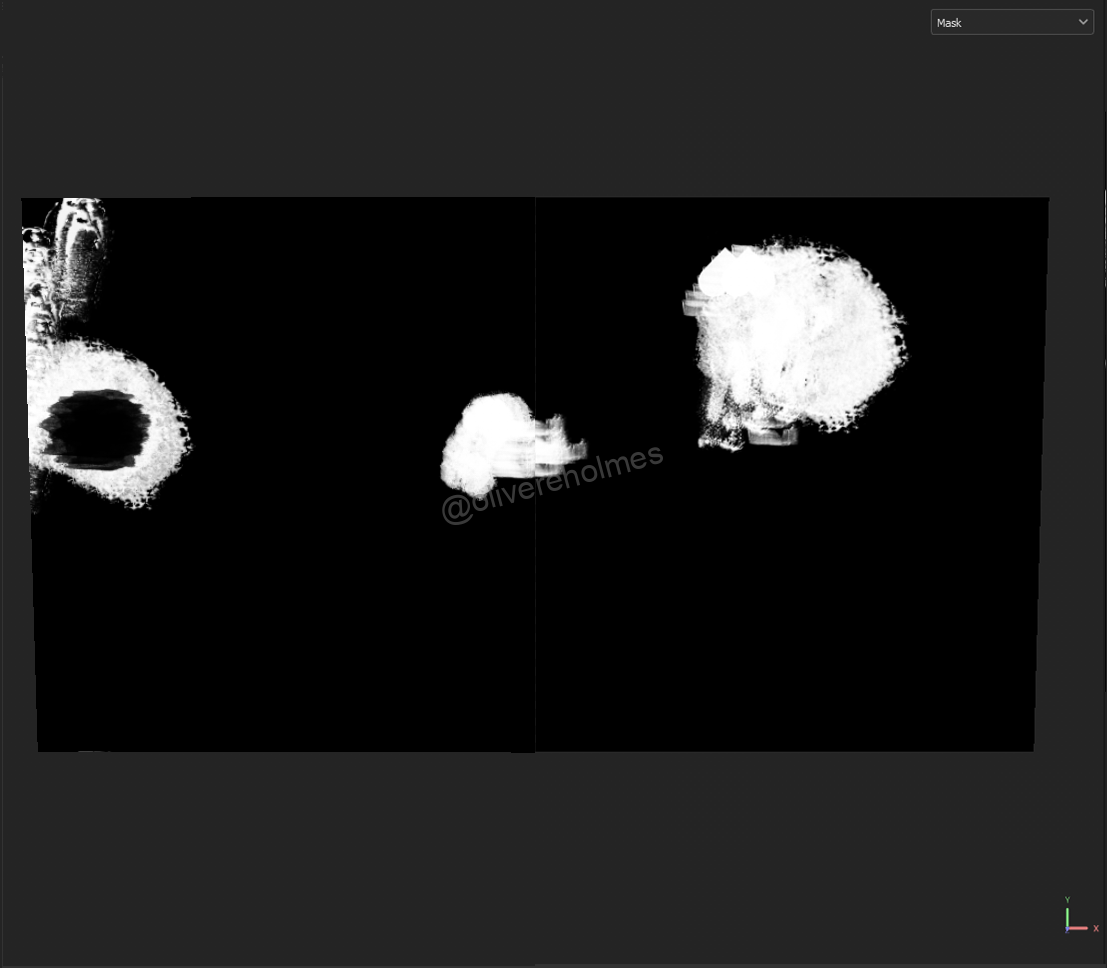
The next step was to create the mask that would determine where the bricks show through on the texture. This was done in multiple ways, however only one was able to be exported, the final image contains all the maps and possibilities however I will only explain the way that was used and exported to substance painter.
The mask that determined where the bricks showed through was created using a mix of two mask maps. The first mask map was created using a blend of a grunge map and a fractal sum base. This was then mixed with a dirt gradient and further mixed with a clouds map. This was finally put through a levels node creating a variation of high detail noise that could then be mixed with the other mask map.
The other mask map was relatively simple in comparison, utilising only a grunge map put through a blur HQ grayscale node and mixed with the other mask map using a blend node set to multiply.
The next step was to mix this map with the bricks map, creating a mask where values under a specified amount would display the bricks, and values over would display the regular wall texture. This was done using a height blend with the settings allowing for any value under 0.3 being set to the brick texture.
This was the final step in creating the height map for the texture. The next step was creating the colour texture for the bricks. This was done by splitting of the height map for the bricks at the flood fill into multiple other sections that were eventually combined. The first section was put through a flood fill to gradient and inverted, this was then mixed with a clouds texture and put through a levels node before being fed back into the bricks mask.
The second section was again put through a flood fill to gradient and inverted, however this was then put through a blend node and mixed with a BnW spots mask. This was then put through a gradient map that applied a dark red and orange colour to this mask, this would become the colour of worn down areas on the bricks.
The final output combined the first section with a b BnW spots mask, this was then fed into a gradient map that gave the bricks their base colour. This map was then combined with another blend node with a white colour being applied to areas determined by a levels node of the original brick mask. This created a map that was finally combined with the darker red colour mask from earlier that determined the edge wear of the bricks.
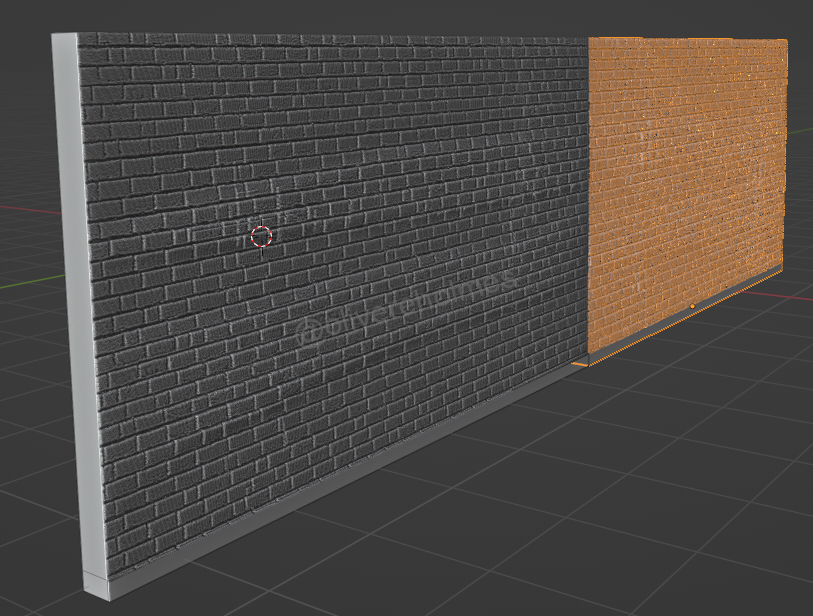
This final bricks colour mask was finally blended with the base wall texture, using the mask that determined where was chipped away revelling bricks, and where was original wall texture. This created the final colour map, alongside the normal, height, roughness, metallic and ambient occlusion maps.

However when imported into substance painter and applied to the walls, I ran into the issue that the texture became repetitive and you were able to see where the texture was tiled. This lead me to use my fall back idea of creating a smart texture in substance painter.
The first step of this was creating two textures, the first being a brick texture, that would have a mask applied to it to show through the second texture, a basic paint texture that would be the base wall texture.

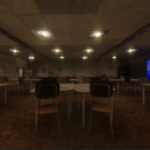
This was then repeated on all other classroom walls, and imported into unity to be added into the environment.