The focus of this dev log is the creation of the bathroom walls, and door.
The first step was creating the door of the bathroom. The block outs model had to be updated for this asset as the plans required a cleaner topology. The first step was creating the base model, this was simple as it was a rectangle with an edge loop splitting the door in the centre horizontally. Each face on the doors front and back was then inset to create a bit of depth on the door. The handle and lock could then be created from a simple cylinder and curve, these were simple to create and required a small amount of time.
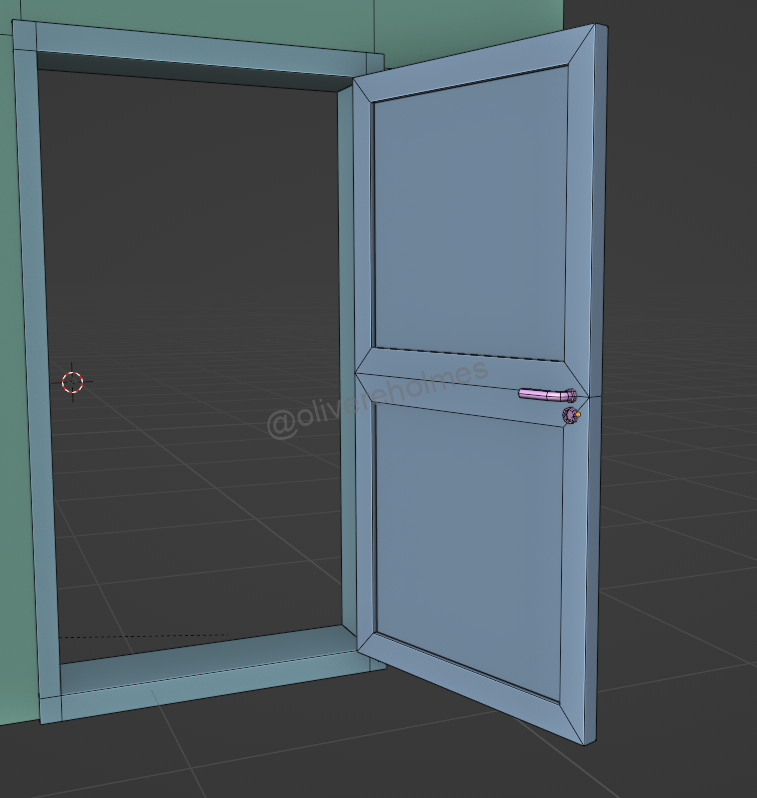
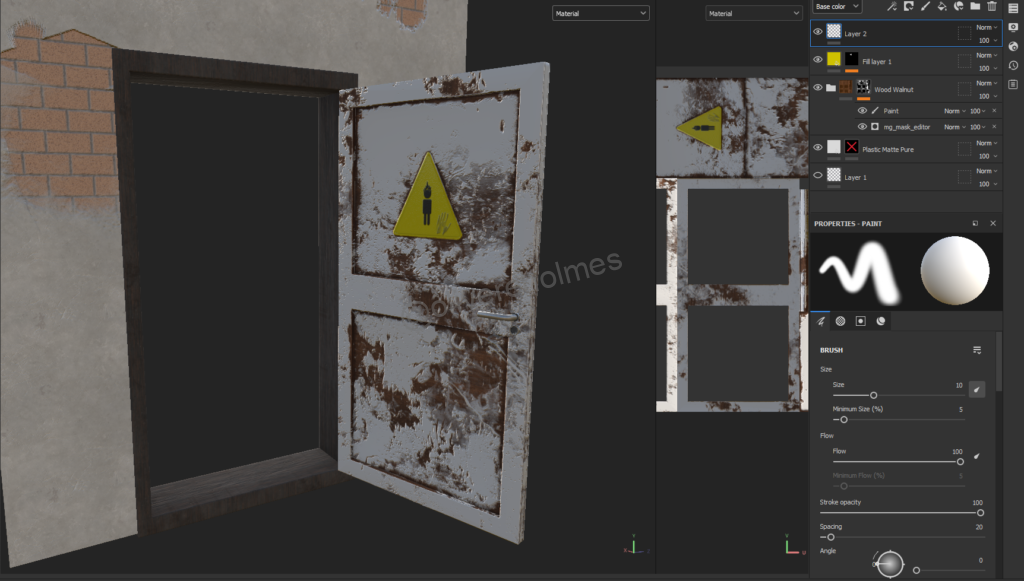
The next step was to create the high poly model for the door. This was simple as the door only required having its edges bevelled and the inside of the door inset slightly. however it was decided to add a sign to the inside of the door through substance painter, this required a small triangular addition to the upper door panel as to create the normal’s where this sign would sit.
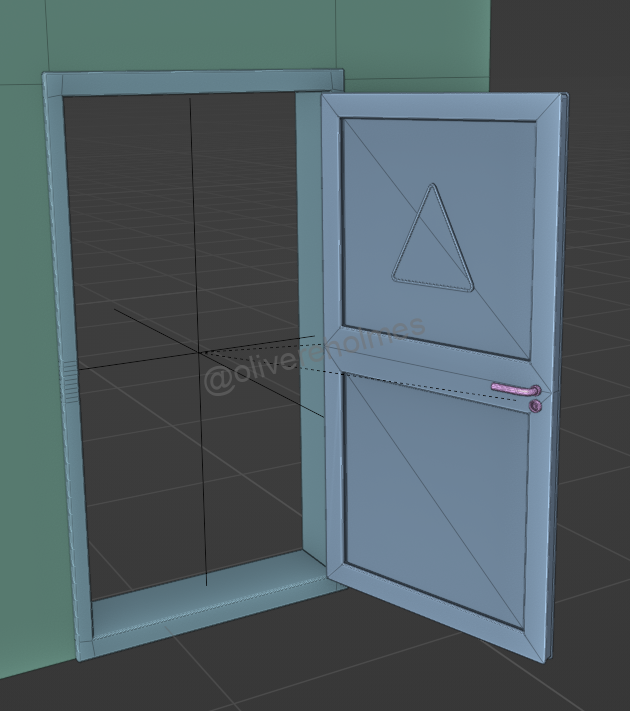
The next step was to create the textures in substance painter. This was done using a few materials, with masks to separate them. The first material was the base wood of the door, this was then overplayed with a paint layer that would be the paint on the door, this was done using a grunge map mask to determine where the paint flaked off the door. The sign was done by manually painting the mask where the sign texture was to be displayed, this texture was a simple plastic texture with a icon displayed in the centre. These textures were created in the same file as the wall texture as it allowed for me to better visualise the final output when the wall was added.

The next step was creating the high poly texture for the walls in the bathroom. This was done utilising once again blenders inbuilt geometry nodes to create a procedural hexagonal grid that could be applied to the bathroom walls.

The inputs required for this grid generator were Radius of the tile, X and Y size of the grid. The first step was creating a hexagonal tile that was then duplicated and offset slightly upwards and too the left, this was done utilising one of the formulas shown bellow, the tile was also rotated by 30 degrees. The next step was creating a grid, this was done by taking the X and Y scale inputs and using the following formulas to create the grid so that the tiles would scale properly and with the correct distance between tiles.
X Translation = Radius * 0.9
Y Translation = Radius * 1.55
X grid Scale = (X size - 1) * 1.8
Y grid Scale = (Y size - 1) * 3.1
The pair of tiles was then instanced across this grid and the material was set allowing the geometry to become realised.
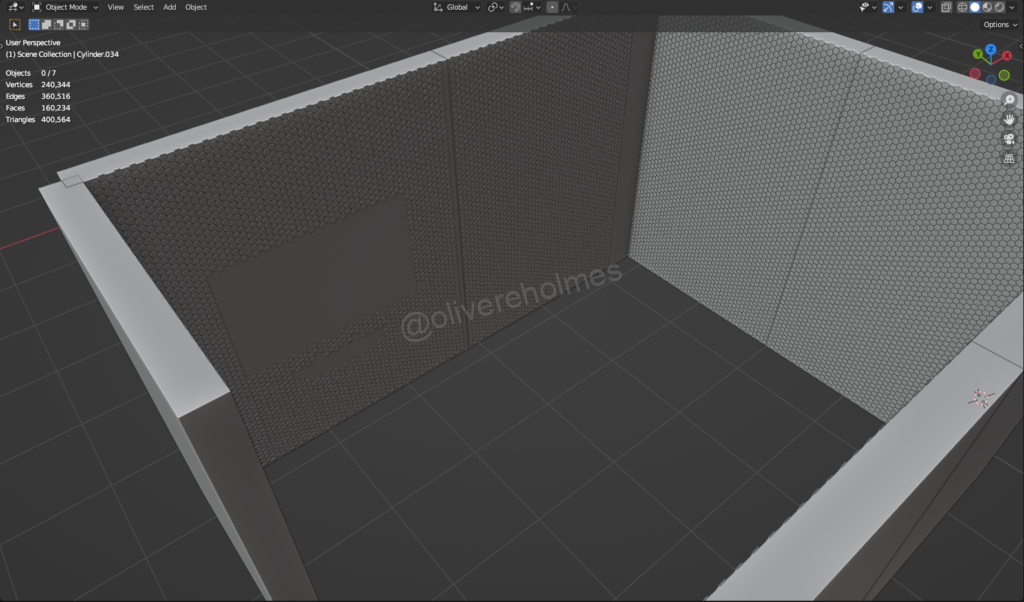
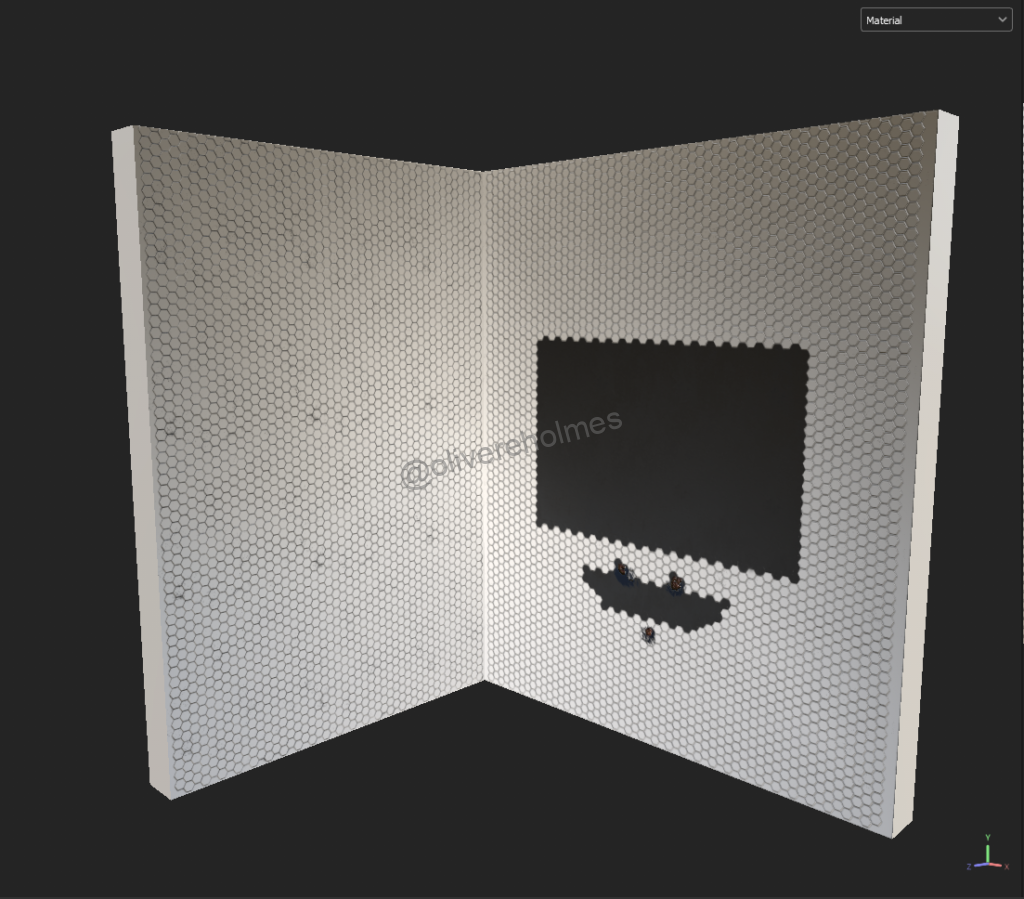
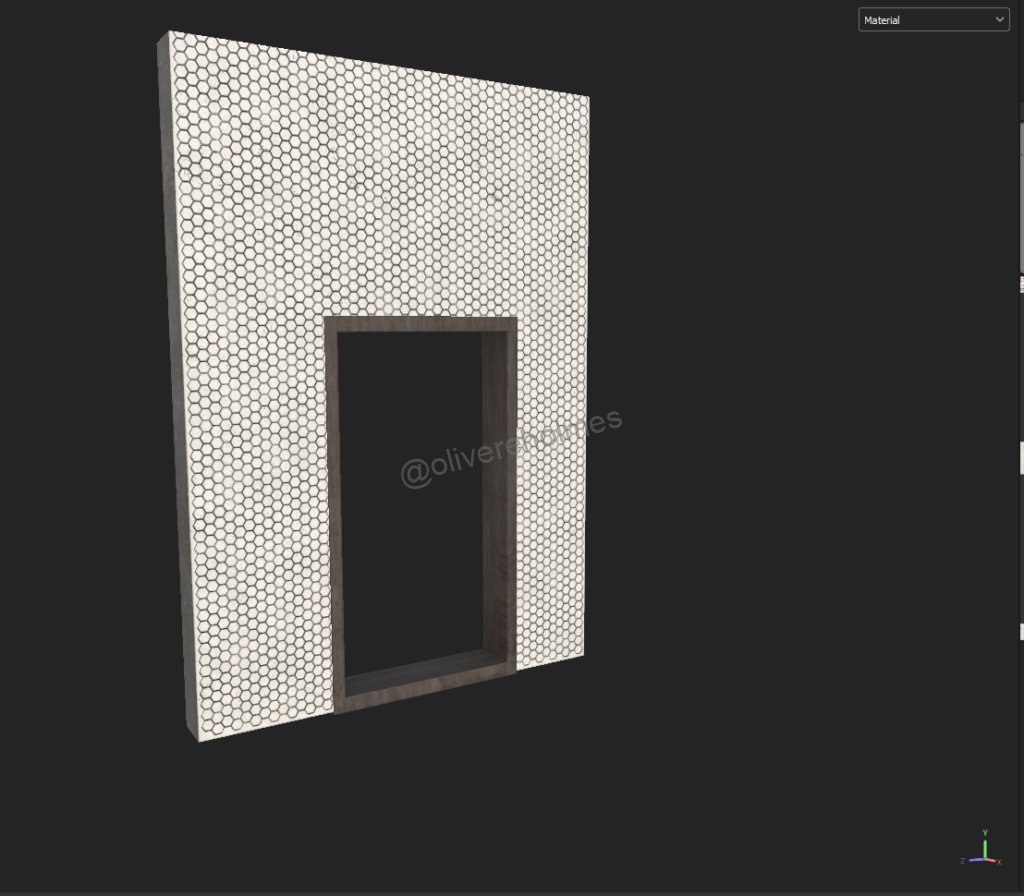
This was then added to the walls where needed, leaving gaps between the walls as I was unable to properly line up all the tiles, this would require objects that obscured these lines in the future. Spaces were left for the mirror and the sink objects and the final high poly walls were exported into substance painter.
The walls were textured separately in a few different files as importing all the models into one file caused errors with the baking that I was unable to solve. However the process was the same for each wall.
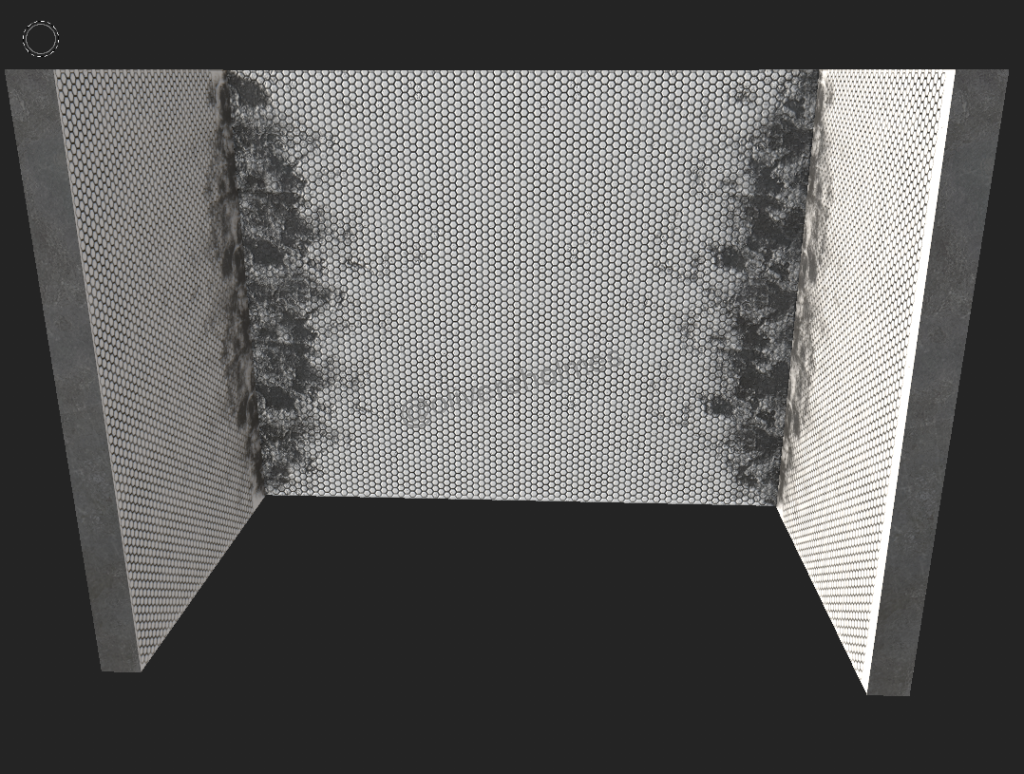
The first step was to bake the mesh maps of the high poly model onto the low poly model. This allowed for the addition of a occlusion mask that created a mask where in between the tiles was black and the tiles themselves was white. This allowed for the mortar texture to be applied between tiles without affecting the tiles themselves. The tiles texture was simple as it only required a simple reflective material with some dust applied to the top. This was then imported into unity, however not all textures have been applied at this time.