The focus of this dev log is the creation of the objects in the bathroom, as well as the bathrooms floor and ceiling.
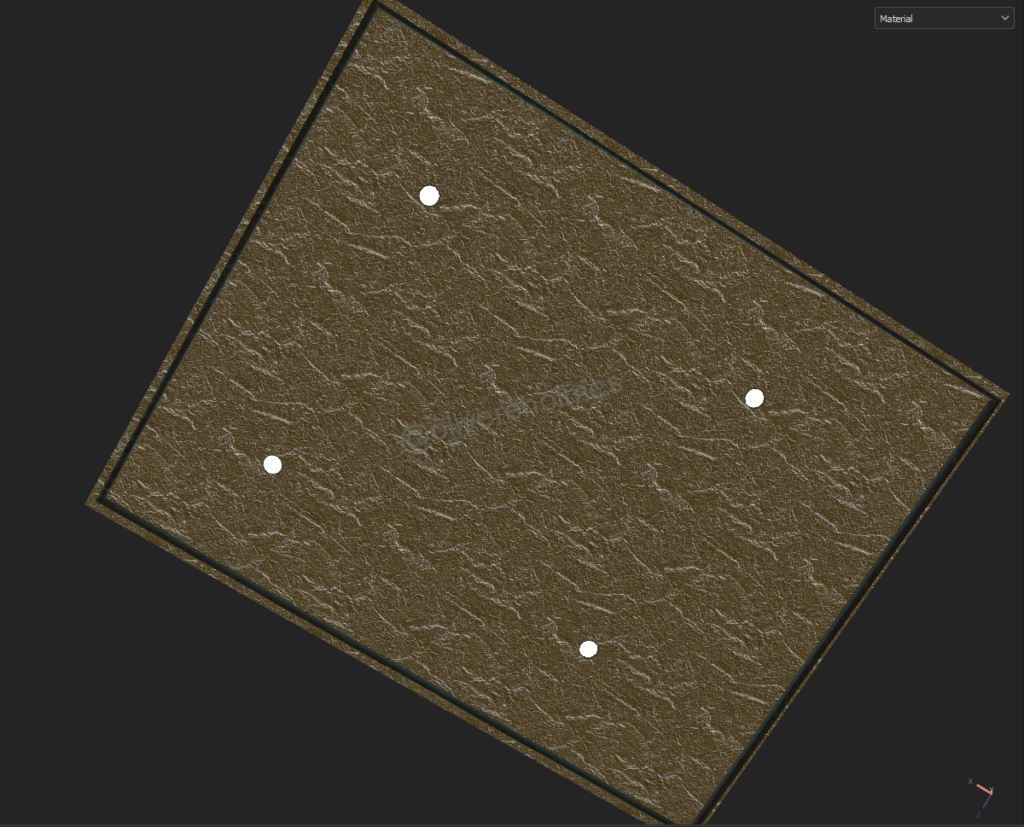
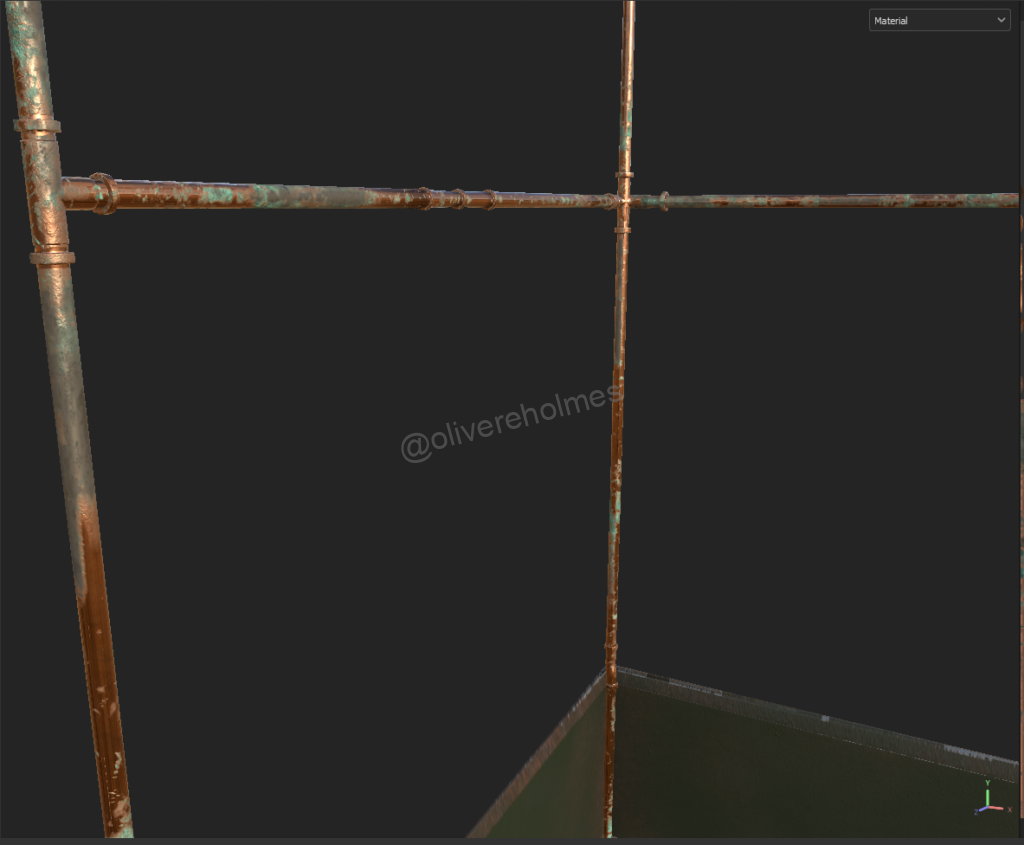
The first step of creating the additional items for the bathroom was the creation of the base objects from the block out. This was relatively simple as most of the items were simple, the object that took the longest was the pipes that covered up the walls seams, this is as they were cylindrical and to break up the shapes I decided to add thicker bits where the pipes would have been joined together. There was also low poly objects for the floor and ceiling, including lights upon the ceiling.
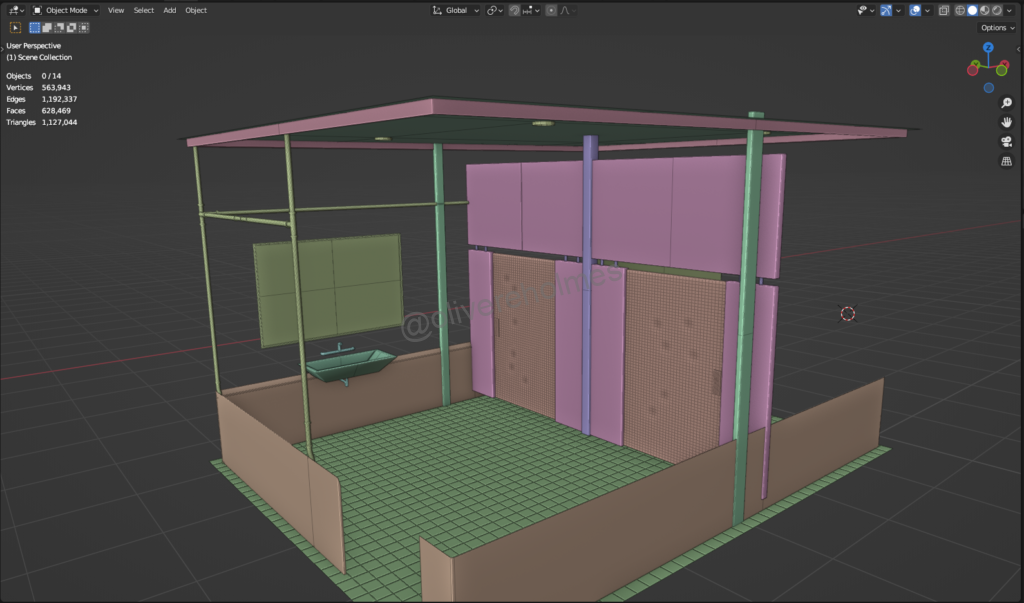
The next step was to create the high poly objects for the scene. This was simple as most objects required a simple subdivision surface and a few simple details added, this was best seen on the stall doors where a few dents were added and bevels were added to the edges of the doors.
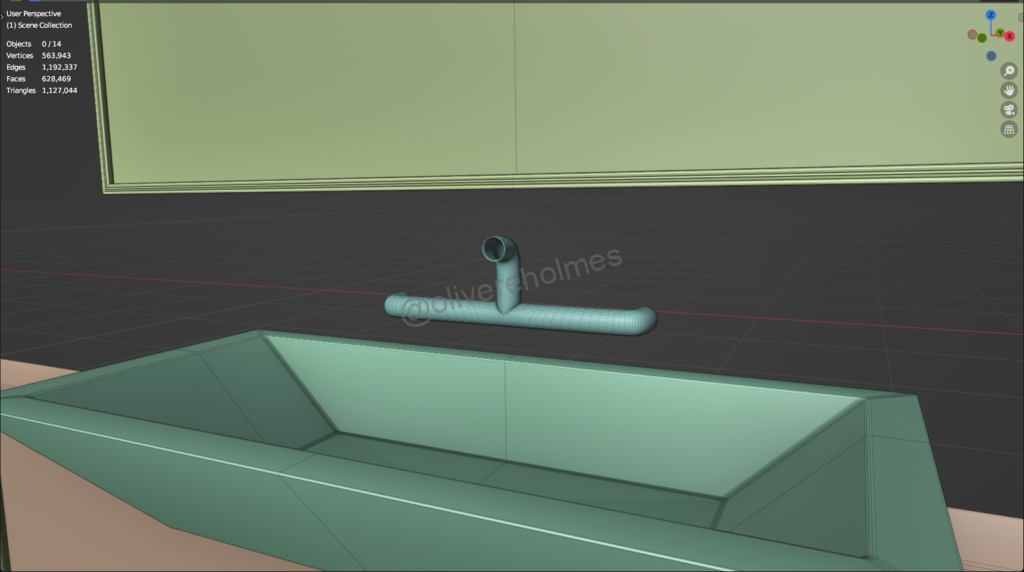
The most complex high poly objects were with the sink, tap pipe, and mirror with the tap pipe being a T pipe joint, where upon the first attempt at subdivision it created topology that self intersected and was clipping through the low poly model when imported into substance painter. This was fixed by adding more edge loops towards the joint. The sink in comparison was simpler however the bevels around the edges had to be done individually as when attempting to do them all together resulted in issues with vertices moving in random directions.
The high and low poly models were then exported into substance painter, these were done in individual files as attempting these in a singular file caused issues with the normal maps.

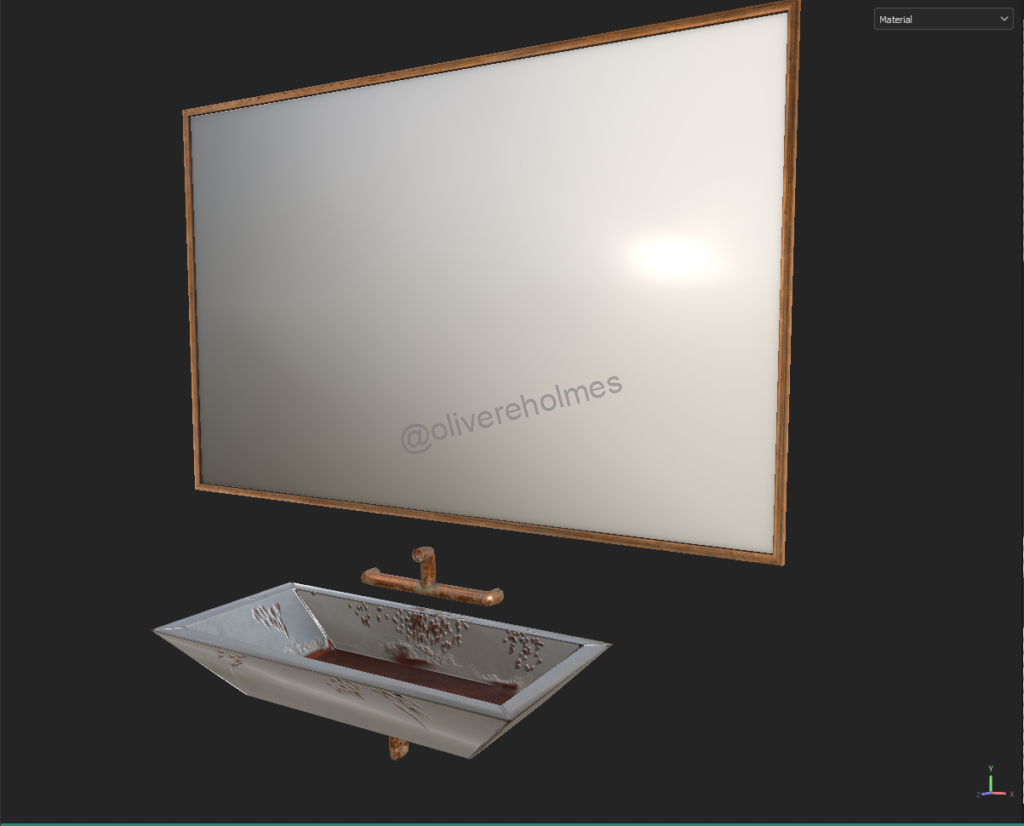
Each texture was simple to create utilising masks that were either hand painted, or utilising occlusion maps, to differentiate between two materials. I am most proud of the pipe textures as well as the sink textures.
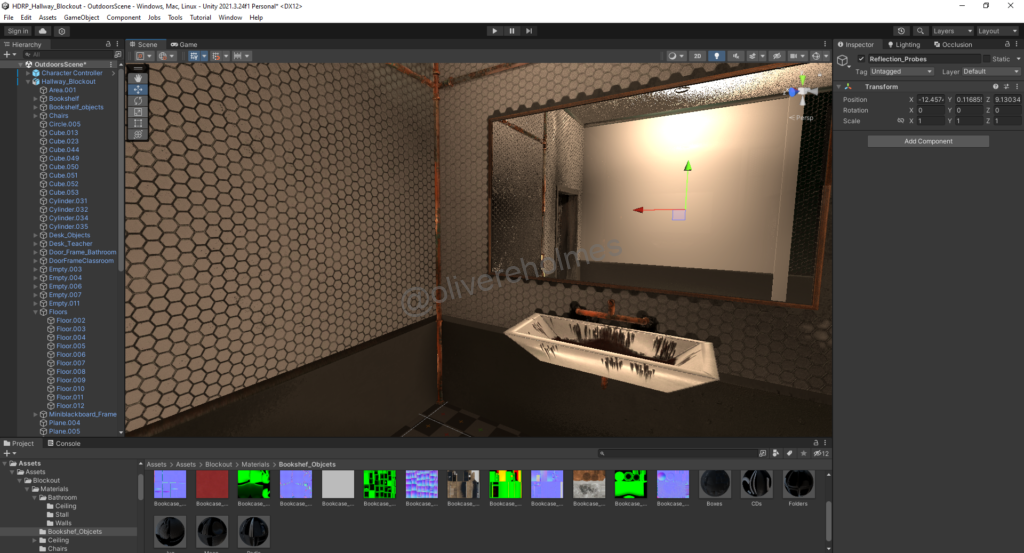
The reflections from the mirror were done utilising recursive rendering, where the reflections are rendered after everything from the perspective of the mirror. This was made possible through the use of Raytracing and DirectX 12 3D.